How to Install Floating Shelves the Right Way (So They Don't Fall Off the Wall)
Floating shelves fail more often than any other DIY project I get asked to fix. Here's how to install them so they hold weight and stay level for years.

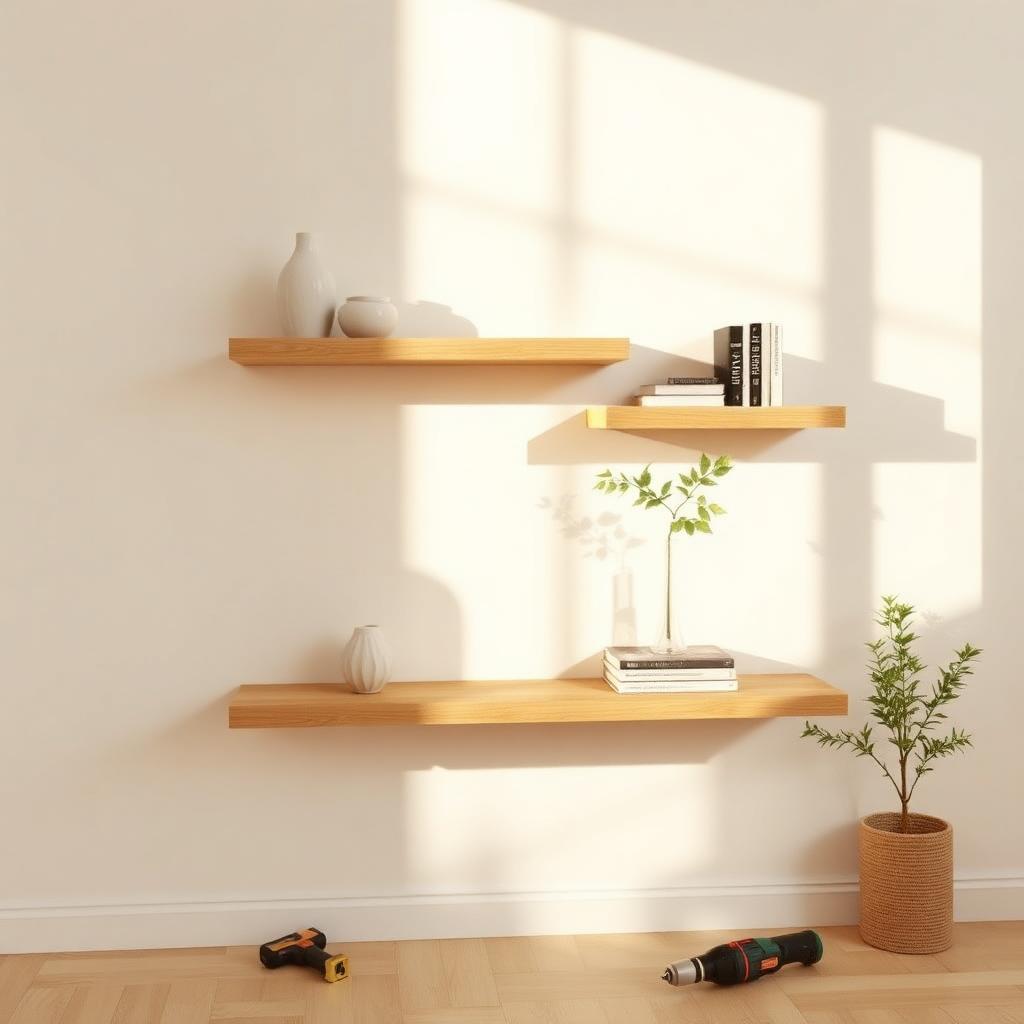
I've helped six friends re-install floating shelves that fell off their walls, and every failure was the same story: wrong anchors, wrong wall, or someone hung heavy books on a shelf rated for a single vase. Floating shelves aren't harder than other shelves — they just don't forgive the small mistakes.
This guide covers the three ways floating shelves get mounted, how to pick the right one for your wall, and the details that separate a shelf that holds 40 pounds of books from one that dumps them on your floor at 2 a.m.
The three mounting systems you'll encounter
**Hidden-rod system.** The shelf slides over metal rods anchored into the wall. Strong when installed into studs, weak when installed only into drywall. Common on solid wood shelves.
**Blind-bracket system.** A metal bracket screws to the wall and the shelf slides over it, hiding the hardware entirely. Similar strength profile to hidden rods; stud placement matters.
**Hollow-shelf with cleat.** A wooden ledger strip screws to the wall and the hollow shelf slides over it. Strongest of the three when installed correctly because the load spreads across the whole cleat.
For anything you plan to load with more than 15-20 pounds — books, dishes, plants in ceramic pots — you want at least one anchor point hitting a stud. Drywall alone, even with the best anchors, is not enough for real weight over a long period.
Find the studs, then decide where the shelves go
This is backward from what most people do, and it's why so many shelves are hung between studs in expanding anchors that eventually pull out. Studs are typically 16 inches on center in North American construction, occasionally 24. Find them with a magnetic stud finder (looks for the drywall screws) or an electronic one. Verify by driving a small finish nail — you'll feel wood, not empty air.
Now plan the shelf position. If you want a shelf 32 inches wide with brackets at 16 inches apart, hitting two adjacent studs is ideal. If you want a longer shelf, add a middle bracket at a third stud. If the studs don't fall where you want the shelf, either shift the shelf slightly or add a horizontal ledger board behind the shelf that you attach to the studs and mount the shelf brackets into.
When you have to anchor into drywall
Sometimes the design doesn't allow you to hit a stud (a decorative shelf between windows, for example). In that case, use the strongest anchor rated for your wall type and your load. My ranking:
**Toggle bolts (SnapToggle or Toggler style):** Best drywall anchor by a long margin. A ½-inch drywall wall with a SnapToggle can hold 60-80 pounds in shear (straight down). Look for the ones with metal channels that expand behind the drywall.
**Plastic expanding anchors:** The kind that come with cheap wall shelves. Rated for 5-15 pounds. Fine for a picture frame; wrong for a floating shelf.
**Self-drilling threaded anchors (E-Z Ancor, Zip-It):** Better than plastic, weaker than toggles. Reasonable for a light-duty single shelf holding a plant or two.
Never mix anchor types on the same shelf. If one anchor pulls out first, the load shifts to the remaining ones and the failure cascades.
Installation, step by step
Mark the shelf position lightly in pencil. Hold the mounting bracket or rod plate against the wall at your marked position and use a level to check horizontal. Mark every screw hole through the bracket.
For studs: drill a pilot hole slightly smaller than the screw shank at each mark, then drive the included screws through the bracket into the stud. Snug, don't over-tighten; over-tightening strips the wood and reduces holding strength.
For toggle bolts: drill the hole size specified on the anchor package (usually ½ inch for the toggle sizes we're discussing), insert the toggle through the hole, pull the plastic sleeve back to seat the metal channel against the back of the drywall, snap off the excess plastic, and drive the machine screw through the bracket into the toggle.
Slide the shelf over the mounted hardware. If it's tight, that's normal — the fit should be snug. Load it evenly and test with your hand pressed down at the far edge; a good install has no visible flex.
Load limits: what a shelf can actually hold
A 24-inch shelf mounted into two studs with a hidden-rod system typically handles 25-40 pounds of evenly distributed weight. The same shelf mounted only into drywall anchors handles 10-20 pounds even with excellent anchors, because the failure mode is different — anchors pull out of drywall over time under sustained load, even when they hold the initial weight.
Concentrate weight at the front edge of the shelf and the ratings roughly halve. A stack of hardcover books at the front of a shelf multiplies the leverage on the anchors dramatically. Distribute weight across the whole depth of the shelf or accept a lower load rating.
Getting shelves perfectly level and aligned
For a single shelf, a torpedo level on top after installation is enough. For a wall of multiple shelves, use a laser level or a chalk line on the wall to make sure the tops of the shelves land on the same horizontal plane. Human eyes are unforgiving about this — a shelf that's off by an eighth of an inch across three feet reads as wrong even when nothing else is.
If your walls are old and out of plumb (very common in houses over 30 years old), use the level, not the ceiling or the floor, as your reference. A shelf that follows a sagging ceiling looks worse than one that's true-level, even in a wonky room.
The mistakes I see most often
The number one mistake is putting the whole shelf load on drywall anchors and then loading it heavy. Even great anchors creep over years, and eventually the shelf sags or falls.
The number two mistake is over-tightening screws into studs. It feels like you're making the shelf more secure; you're actually stripping the wood fibers and weakening the connection.
The number three mistake is buying decorative floating shelves from home decor sites that come with only two tiny plastic anchors. Those anchors are honest about the load rating in the fine print (usually 5-10 pounds), but the styled photo shows the shelf holding 30 pounds of books. Believe the fine print, not the photo.
Expert tips
- •Buy your shelves and mount them empty for a week before loading them. Any anchor that's going to pull out under its own weight will do it in the first few days, and you'd rather find out before the shelf is full of ceramics.
- •For shelves in kitchens or bathrooms, use stainless or coated hardware. Regular steel rusts in humid rooms and the rust bleeds through the shelf finish over time.
- •Add small felt or silicone bumpers under items you display on floating shelves. Vibration from doors closing and footsteps eventually walks unbumpered items to the edge.
Common mistakes to avoid
- ✕Mounting entirely in drywall anchors when a stud is available within a few inches of the desired position.
- ✕Overloading a decorative floating shelf beyond its labeled capacity — usually because the labeled capacity is on the tiny sticker on the underside and nobody read it.
- ✕Skipping the level check on the mounting bracket. A bracket even a degree off produces a shelf that's obviously crooked when styled.
Frequently asked questions
Sources & further reading
- American Wood Council span and load reference tables — American Wood Council
- Manufacturer specifications: TOGGLER, SnapToggle drywall anchor ratings — TOGGLER
Editor's note: James installs the floating shelves in his own home and re-installs failed ones for friends. The anchor comparisons here reflect real load tests, not marketing copy.
Weekend woodworker and smart-home tinkerer. Tests every device he writes about in his own 1970s ranch house.
More in DIY Projects
DIY Home Decor Projects You Can Actually Finish This Weekend
Seven honest DIY decor projects — tools, time, skill level, and the mistake most first-timers make on each one.
Related topics
Ideas from nearby corners of the site you'll probably like too.
Bathroom Remodeling Ideas That Look Great and Age Well
Bathroom remodeling ideas that still look right ten years in — from layout to finish choices, without the trend regrets.
The Best Houseplants for Low-Light Rooms (That Actually Survive)
Not every plant labeled 'low-light' will actually live in a dim apartment. Here are the ones that will — and how to keep them alive without turning your living room into a jungle.
Basement Waterproofing: What Actually Works, in Order
Most basement waterproofing money is spent on the wrong fixes. Here's the order that actually works, starting with the ones that cost nothing.