Basement Waterproofing: What Actually Works, in Order
Most basement waterproofing money is spent on the wrong fixes. Here's the order that actually works, starting with the ones that cost nothing.

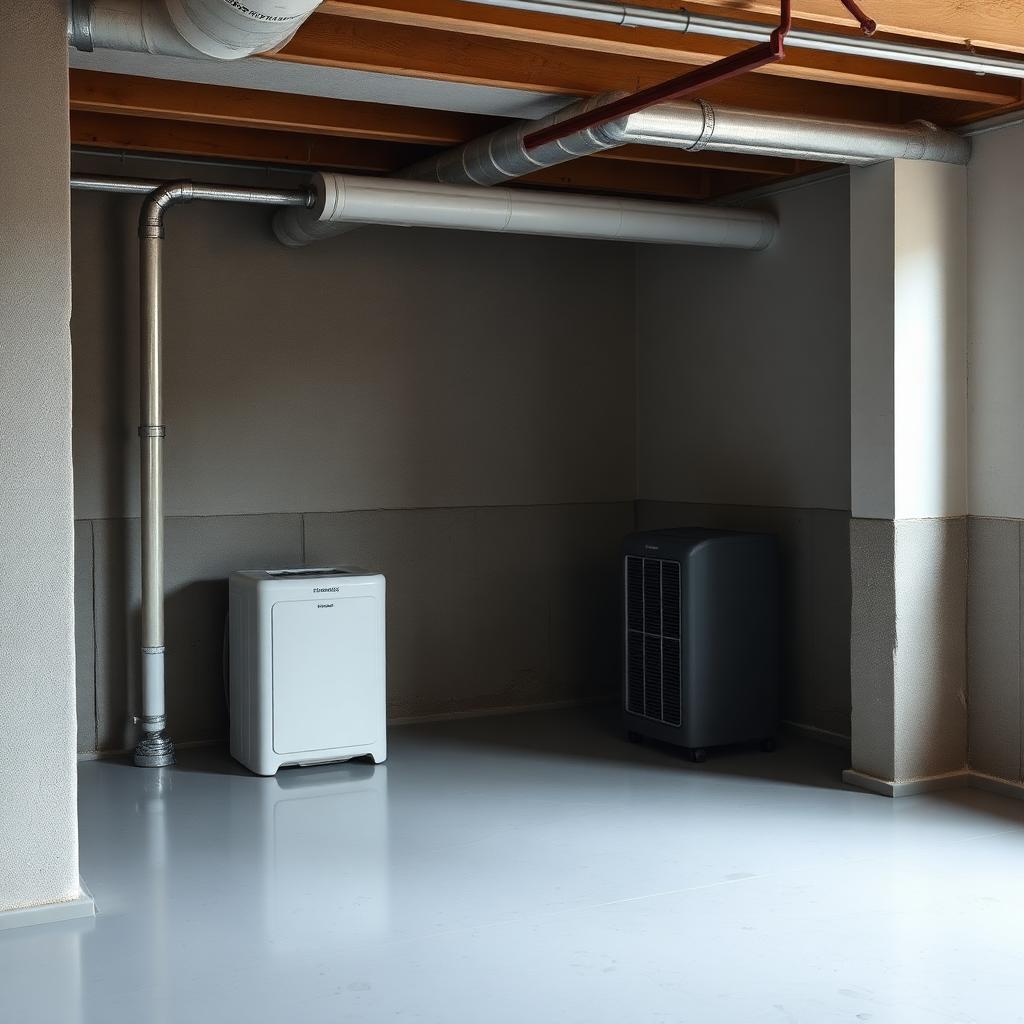
In twenty-two years of contracting I've been called to look at hundreds of wet basements. The typical homeowner has already spent $1,500 on a mysterious 'waterproofing paint' from the big-box store and $400 on a dehumidifier before they call me, and the basement is still wet. The problem is almost always outside, not inside — and the fix is almost always cheaper than they feared.
This guide walks through basement waterproofing in the order I'd tackle it on my own house. Do the free things first, then the cheap things, then the expensive things. Skipping ahead is how people end up with $15,000 interior drainage systems that just moved the water from one place to another.
First, figure out what kind of wet it is
There are three sources of basement moisture and they need different fixes. Bulk water intrusion — visible puddles, wet stains after rain, water tracks running down walls — is a drainage problem. Condensation — walls that sweat in summer, musty air, damp cardboard boxes — is a humidity problem. Rising damp — a persistent damp band along the bottom of walls, efflorescence (white powder) on the concrete — is groundwater wicking through the foundation.
Tape a square of plastic wrap tightly to the wall for 48 hours. If moisture beads on the outside of the plastic (the room side), you have condensation. If it beads on the inside (the concrete side), you have water coming through the wall. This one test saves people from spending money on the wrong problem.
The free fixes: gutters and grading
The single most common cause of a wet basement is water pooling within three feet of the foundation. That water is under pressure and it will find a way through the wall. Two exterior problems cause most of it, and both are free to check.
**Gutters.** Look at your gutters during the next rainstorm. If water overflows anywhere, spills behind the fascia, or drops from downspouts within four feet of the foundation, that's your leak. Clean the gutters (every fall, always) and extend every downspout at least six feet from the house — 10 is better. Roll-out plastic extensions are $5 apiece and solve genuine problems.
**Grading.** The ground within six feet of the foundation should slope away from the house — a drop of at least six inches over the first ten feet. Walk the perimeter and look. Where the grade slopes toward the house, or where it's level, add fill (a mix of topsoil and clay-heavy soil, not sand) and compact it. Re-grading a bad spot with a wheelbarrow of dirt and an afternoon is the highest-ROI fix in all of homeownership.
Sealing crack points from the inside
If grading and gutters didn't fix it and you have specific cracks or gaps letting water through, those can be sealed from the inside with hydraulic cement (for active leaks) or polyurethane crack injection kits (for hairline cracks). Both are DIY projects for a competent homeowner and both cost under $100.
One important limitation: interior crack sealing is a stopgap for occasional water, not a solution for persistent hydrostatic pressure. If you seal a crack and water starts coming through the crack next to it, you have a real drainage problem outside and interior sealing is a losing game.
Sump pump: install it before you need it
Every basement in a wet climate should have a sump pit, even if it currently sits dry. Adding one after a flood costs several times as much as adding one during a routine remodel. A basic pit-and-pump install runs $1,000-2,500 depending on whether the concrete needs to be broken and re-poured or not.
Get a cast iron pump, not plastic. Add a battery backup or water-powered secondary pump — most flooded basements are flooded during a storm that also killed the power, and the primary pump is only useful when it can run. A $200 battery backup has saved thousands of finished basements.
Waterproofing paints: what they do and don't do
'Waterproofing' paints and sealers like Drylok are useful for a specific and limited job: reducing wall porosity so that mild moisture wicking is less visible, and giving a paintable finish to a bare concrete wall. They are not a substitute for solving a drainage problem. If you have hydrostatic pressure pushing water through the wall, waterproofing paint will bubble and peel within a season.
If your walls are damp only occasionally, grading is corrected, and you want a finished look, applying two coats of Drylok Extreme with a stiff brush (not roller) into every pore is a reasonable finish for an unfinished basement. If you have active leaks, don't waste the money.
When to call for an interior French drain
If gutters, grading and crack sealing don't solve the problem and you have chronic bulk water intrusion, an interior perimeter drain and sump system is the right next step. This is a real project: contractors break up the concrete floor around the perimeter, install a perforated pipe in gravel, and route it to a sump pit. Cost is typically $6,000-15,000 depending on basement size and access.
Interior drains work — they intercept water that has already gotten through the wall and drain it out before it reaches your floor. They do not stop water from entering the wall in the first place, so mineral deposits and eventual concrete deterioration continue. That's why exterior waterproofing (excavating around the foundation and applying membrane) is a longer-term fix, though it costs three to five times as much and is usually reserved for houses that have had multiple interior systems fail.
Dehumidifiers and the humidity fix
If your plastic-wrap test showed condensation on the room side, your problem is humidity, not a leak. A properly sized dehumidifier (70+ pint capacity for most basements, 50 pint for small dry ones) run continuously through the humid season keeps relative humidity below 55 percent, which prevents mold growth, wood rot and that basement smell.
Buy an energy-efficient unit with a built-in pump so you can hose the drain directly to a floor drain or sump. The alternative is emptying a five-gallon reservoir twice a day, which you will not sustain. Expect $200-400 for a decent unit and $60-120 per year in electricity.
Mold: when to worry, when to clean it yourself
Small patches of mold on painted surfaces, concrete or non-porous materials — say, under ten square feet — you can clean yourself with a solution of one cup bleach to a gallon of water, or a commercial mold cleaner if you prefer no bleach. Wear an N95 mask and rubber gloves and ventilate the room hard.
Larger areas, mold on porous materials like drywall or carpet, or any hint of black mold (Stachybotrys — greenish-black, slimy when wet) call a remediator. It's not a DIY job and the health risk from disturbing a large colony is real.
Expert tips
- •After heavy rain, go outside and watch where water runs. Not where it puddles later — where it moves during the storm. That's where the fix belongs.
- •Install a smart water sensor near your sump pit for $20. It texts you the moment water rises above the pump float, which is priceless if you're away when a pump fails.
- •Keep a $30 backup submersible pump and 50 feet of garden hose in your basement. When the primary fails in a storm, you'll get 24 hours to arrange a replacement instead of six inches of water.
Common mistakes to avoid
- ✕Painting the walls with 'waterproofing paint' before fixing the drainage outside. The paint bubbles and peels within one wet season and the money is gone.
- ✕Installing an interior drain without also fixing gutters and grading. The drain works, but the wall behind it deteriorates from constant water exposure.
- ✕Ignoring the sump pump for years and only discovering it doesn't work during a flood. Test it every spring by dumping five gallons of water into the pit.
Frequently asked questions
Sources & further reading
- EPA guidance on basement moisture and mold — U.S. Environmental Protection Agency
- Building Science Corporation: Read This Before You Design, Build or Renovate — Building Science Corporation
- International Residential Code sections on foundation drainage — International Code Council
Editor's note: Marcus is a licensed general contractor who has diagnosed and repaired basement moisture in more than a hundred homes. The sequence here is the order he uses on his own inspections.
Licensed general contractor turned writer. Twenty-two years on job sites; still keeps a tool belt in the truck.
More in Home Maintenance
Common Home Repair Mistakes to Avoid
The home repair mistakes I've made — and the small habits that turn a shaky first repair into one you'll never think about again.
Seasonal Home Maintenance Checklist for Every Homeowner
The maintenance tasks — grouped by season — that quietly prevent the most expensive repairs I see year after year.
Related topics
Ideas from nearby corners of the site you'll probably like too.
A Natural Cleaning Routine That Actually Works
A gentler cleaning routine that actually cleans — and honest notes on where natural products fall short.

How to Deep Clean Your Kitchen in One Weekend
A working two-day plan for deep cleaning a kitchen the right way — top-down, greasy zones last, and no vinegar on the wrong surfaces.
How to Install Floating Shelves the Right Way (So They Don't Fall Off the Wall)
Floating shelves fail more often than any other DIY project I get asked to fix. Here's how to install them so they hold weight and stay level for years.