Kitchen Backsplash Ideas for Every Budget
Backsplash ideas that look intentional at any budget, from painted panels for two hundred dollars to handmade zellige worth the splurge.

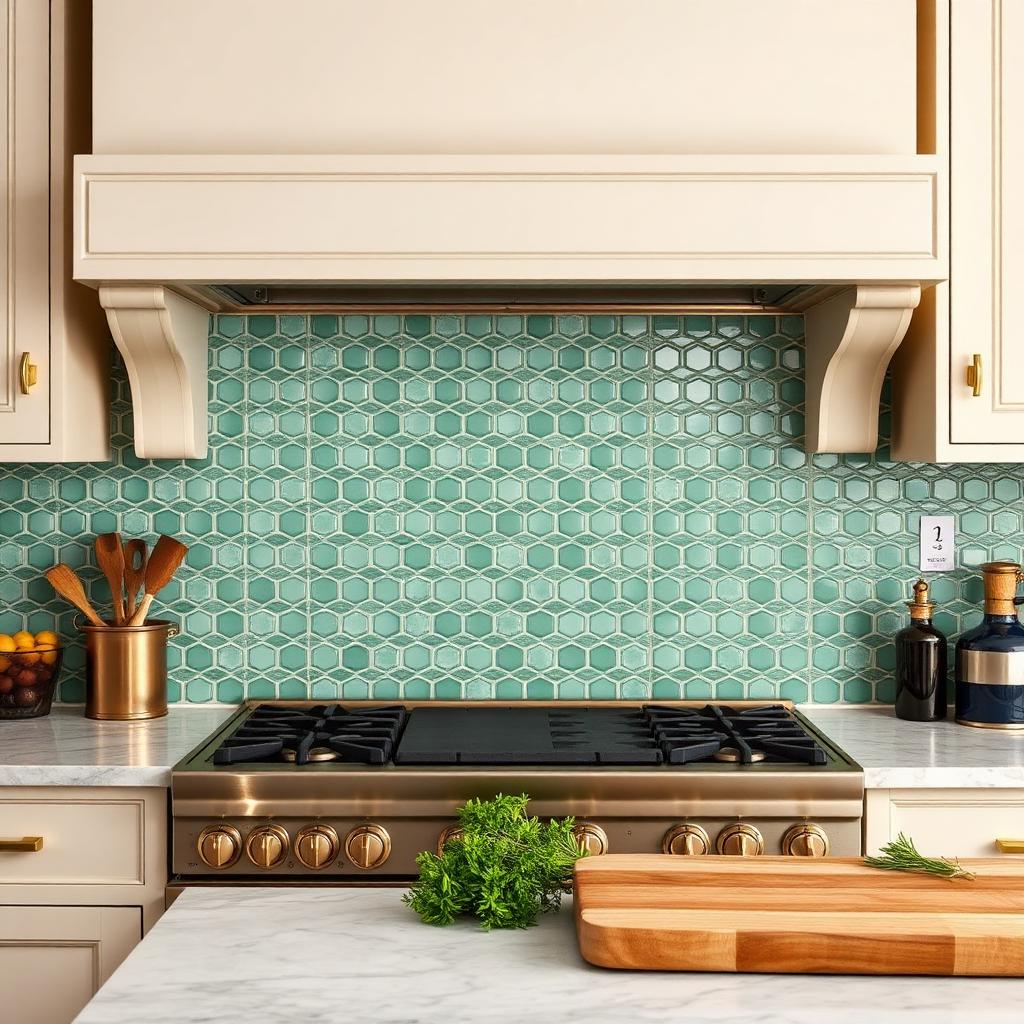
A backsplash is the smallest surface in the kitchen and often the one that decides how the whole room reads. Change it and everything else — the same cabinets, the same appliances, the same floor — starts telling a different story. The good news is that a great backsplash isn't always the expensive one; the bad news is that the wrong material or pattern makes a $5,000 backsplash look worse than a $300 one done thoughtfully.
Here are the backsplash directions I actually recommend to clients at three real budget points, plus the tradeoffs that decide which one fits your kitchen.
Under $300: painted or peel-and-stick, done right
The lowest-cost meaningful backsplash upgrade is high-quality paint on the wall between counter and cabinets. Use a moisture-resistant kitchen and bath paint in an eggshell or satin finish, in a color that contrasts intentionally with your cabinets. A saturated deep green behind cream cabinets, a soft warm white behind dark wood — either reads as considered.
Peel-and-stick tile is the middle option at this budget. It has come a long way; the current generation of vinyl-based peel-and-stick tiles convincingly imitates ceramic, cement or metro tile from a few steps away. Pick the thicker vinyl products with a clear top layer, not the cheap paper-based ones that yellow within a year. Apply to a truly clean, smooth wall — the number one reason peel-and-stick fails is applying it over a textured or greasy wall.
$500-$1,500: classic ceramic tile, well-installed
At this budget you can install real ceramic tile across the entire kitchen backsplash. The material itself is inexpensive — 3x6 subway tile is a dollar or two per square foot, and many patterned ceramics run under $10 a square foot. Most of the budget goes to installation, either DIY with a tile saw rental ($60/day) or hired at $8-15 per square foot.
The design decision that separates a good $1,000 backsplash from a forgettable one is the grout color and the tile shape. White subway tile with light gray grout is safe and forgettable; the same tile with dark charcoal grout is graphic and intentional. Or skip subway entirely for handmade-look ceramic in an unexpected shape — square, elongated hexagon, thin brick — and any color other than pure white.
$1,500-$3,500: cement tile, glass mosaic or hand-glazed ceramic
At this budget you can afford genuinely distinctive materials. Cement tile (encaustic tile) in a bold pattern makes a backsplash into a focal point — great behind a range, restrained on the rest of the run. Glass mosaic in a small format (1x1 or 3/4-inch square) catches light and adds depth in kitchens with limited natural light.
Hand-glazed ceramic tile — the kind with visible variations in glaze thickness and color from tile to tile — costs $15-30 per square foot but reads as artisanal in a way machine-perfect tile never does. The imperfection is the feature. Watch out for lot variation; order 10-15 percent overage from the same batch so any replacements match years later.
$3,500 and up: zellige, handmade encaustic or full slab
This is where the backsplash becomes an object worth building the kitchen around. Zellige — handmade Moroccan clay tile with characteristic pits, chips and glaze variation — costs $25-60 per square foot for the tile alone and requires an installer familiar with its quirks. Every tile is a slightly different size, so a competent installer treats the joints as design elements rather than trying to force perfect grid alignment.
Full-slab backsplashes (marble, quartzite or porcelain matched to the countertop) create a seamless surface with no grout lines. Beautiful, easy to clean, expensive because the fabrication is exacting. Marble is the classic; porcelain slab imitates the look with better staining performance.
At this budget you can also afford genuinely artisanal encaustic tile from a single small maker — the kind where the pattern is unique to your kitchen. The cost premium is real; the result is a kitchen no one else has.
Materials to skip regardless of budget
**Faux stone panels** — the plastic 3D panels sold at big-box stores that look like stacked stone. They read as fake from any distance and date the kitchen the day they're installed.
**Glass sheets over a printed background** — a fad that ages badly and shows every fingerprint.
**Mirror behind the range** — the concept sounds elegant; the reality is a mirror covered in cooking grease that's difficult to clean without leaving streaks.
**Very trendy tile shapes in polarizing colors** — hexagons in coral pink, fish-scale in millennial pink, and similar. If you love the look now and can afford to redo the backsplash in five years, go for it. Otherwise, the more distinctive the shape and color, the shorter the design life.
Design decisions that matter more than the tile itself
**Extend it to the ceiling behind the range.** A backsplash that stops at the underside of the range hood or the top of the cabinets can look chopped off. Extending it to the ceiling (either the whole run or just the section behind the range) makes the wall feel intentional. This is especially true with an open shelf instead of upper cabinets — a full-height backsplash becomes a design feature.
**Match the grout to the tile intent.** Contrasting grout emphasizes the tile shape and pattern; matching grout makes the tile read as a continuous surface. Neither is inherently better, but the choice should be deliberate.
**Cut it at the right height on side walls.** Backsplashes that run 18 inches up between counter and cabinets often look strange where the cabinet ends and the tile keeps going up a side wall. Either stop the tile at the same height as the cabinet, or run it all the way to the ceiling. The half-height cutoff looks like a mistake.
Expert tips
- •Order a sample and stick it to the wall for a week before ordering the full batch. Overhead kitchen lighting changes tile color dramatically, and what looks green in the showroom often reads more gray at home.
- •For a busy patterned backsplash, keep your counters and cabinets calm. The reverse also works — busy counters, quiet backsplash. Both loud together fights.
- •Save your extra tile in a labeled box in the basement. The tile you install today will be discontinued in three years, and finding a match for a repair without your leftovers is nearly impossible.
Common mistakes to avoid
- ✕Choosing tile from a small sample chip. Patterns and colors look completely different on a full wall than on a two-inch swatch.
- ✕Skipping the tile installer's mock-up. Ask them to dry-lay the first two feet before setting anything; you'll catch grout width and orientation mistakes before they're permanent.
- ✕Buying too little tile and running out mid-install. Order 15 percent overage minimum, 20 for patterned tile.
Frequently asked questions
Sources & further reading
- Tile Council of North America installation handbook — Tile Council of North America
- National Kitchen and Bath Association design guidelines — NKBA
Editor's note: Sarah has specified backsplashes at each of these budget points in her own client work. The material recommendations reflect what she has installed and lived with, not showroom impressions.
Fourteen years designing residential interiors on both coasts, with a soft spot for warm minimalism and small-space layouts.
More in Home Decor
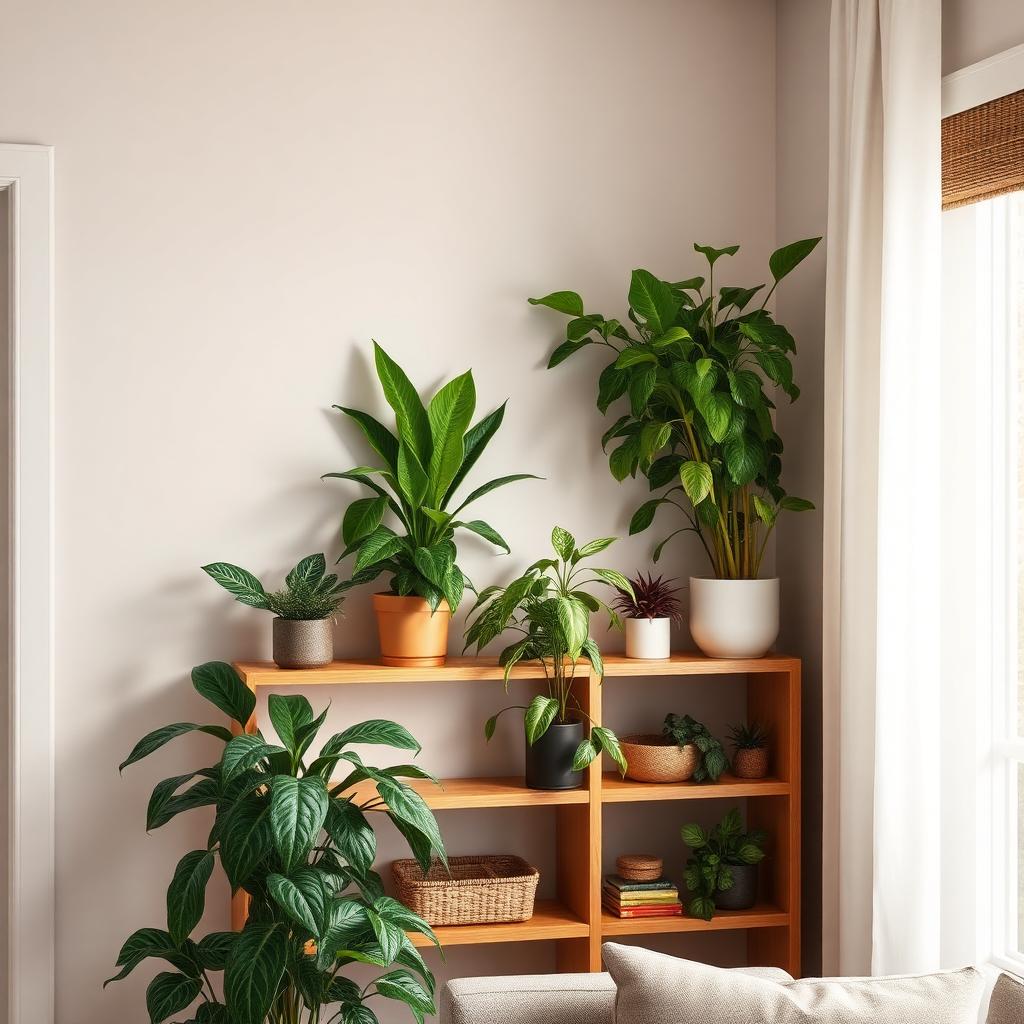
The Best Houseplants for Low-Light Rooms (That Actually Survive)
Not every plant labeled 'low-light' will actually live in a dim apartment. Here are the ones that will — and how to keep them alive without turning your living room into a jungle.
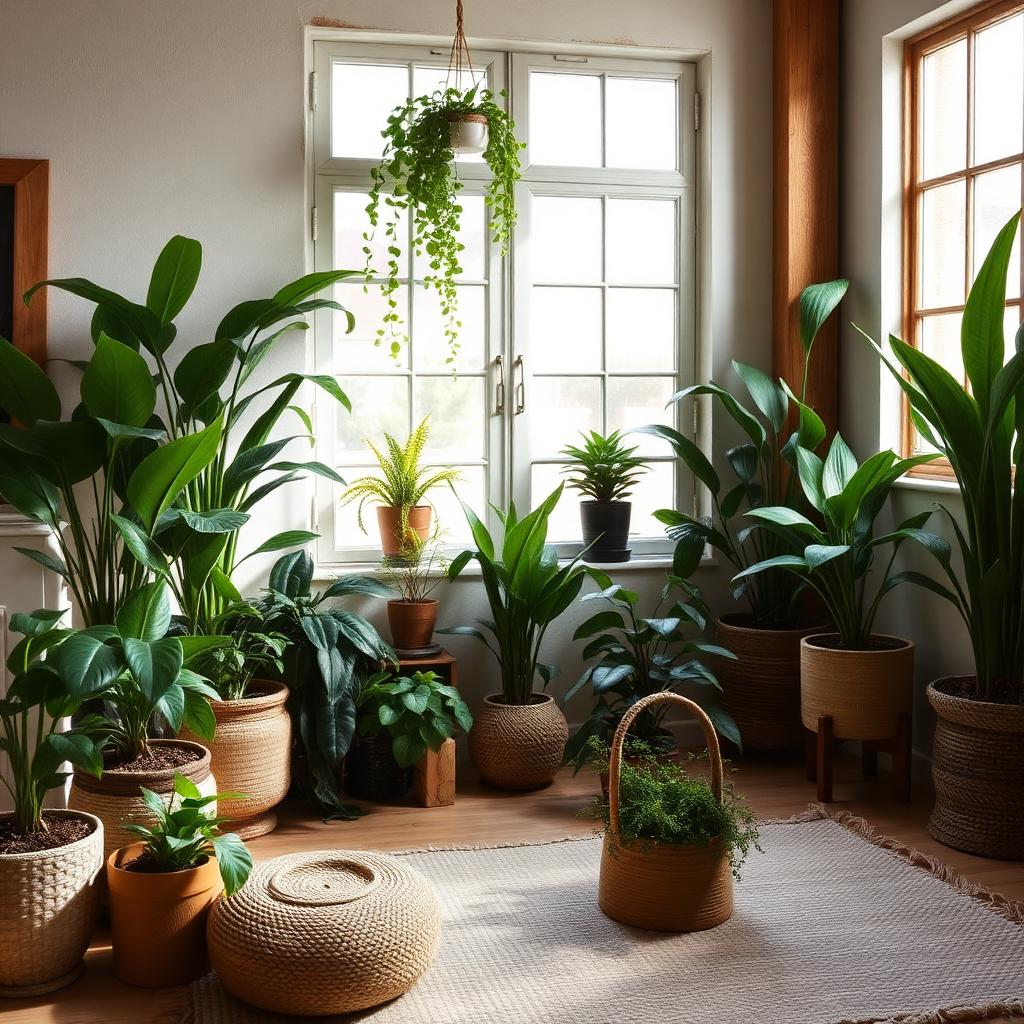
Best Indoor Plants for Air Quality (and How to Not Kill Them)
Honest picks for indoor plants that clean the air, add real warmth to a room, and forgive a beginner's care routine.
Related topics
Ideas from nearby corners of the site you'll probably like too.
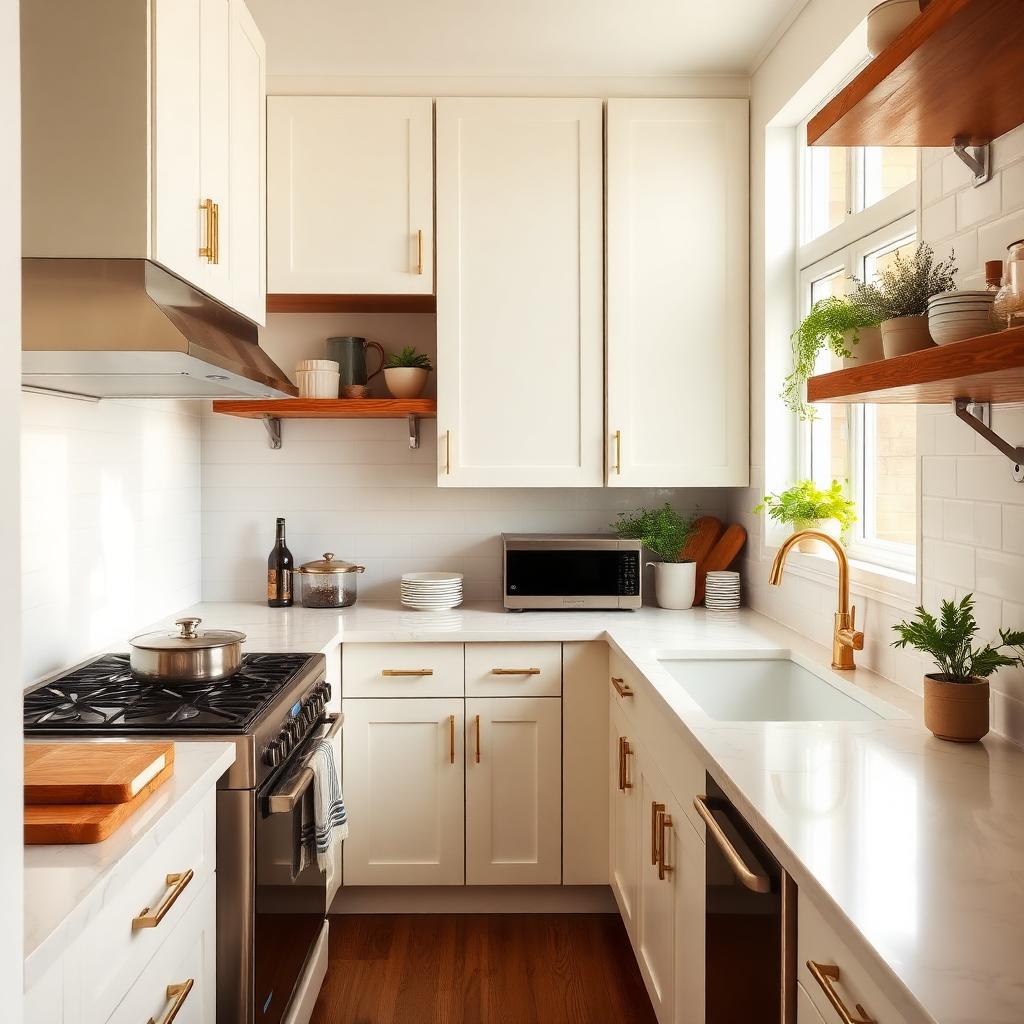
How to Organize a Small Kitchen So It Stays That Way
Zone-by-zone organization for a small kitchen — the storage that pulls its weight and the habits that keep it tidy after week one.
Modern Bedroom Design Trends Worth Paying Attention To
Modern bedroom design trends worth the investment — and the ones I'm already seeing my clients regret.
Decluttering and Organization Strategies That Actually Stick
Decluttering strategies that survive past the first weekend high — and the small habits that keep new clutter from arriving.